remote-ssh-kaggle-vscode
<p style="text-align:center"> Remote-SSH Kaggle using Visual Studio Code </p>


This repository provides a convenient way to remotely connect to Kaggle using Visual Studio Code with password authentication, enabling you to maximize the benefits of Kaggle’s utilities. With this setup, you can maintain a continuous 12-hour session without interruptions. Additionally, you can extend the GPU usage from the default 30 hours per week to 42 hours by following a simple procedure (closing the notebook session at the end of the 29th hour, SSH back in, and maintain it for an additional 12 hours :v). This setup allows for easier usage of the terminal and debugging capabilities compared to the notebook interface provided by Kaggle. Furthermore, you can utilize and manage .py files effortlessly.
✨ Key Features:
- ✅ Password Authentication - No need to generate SSH keys!
- ✅ Modular Bash Scripts - Easy to maintain and customize
- ✅ Includes Oh My Posh - Beautiful terminal (optional)
- ✅ Simple Setup - Just a few steps to get started
📝 How It Works:
The notebook clones this repository and uses bash scripts (install_ssh_server.sh, add_ngrok_token.sh, run_ssh_server.sh) to set up SSH server with password authentication.
And there are many more exciting features for you to explore!
<p style="text-align:center"> Getting Started </p>
1. Install Visual Studio Code and create account Ngrok
- Download and install Visual Studio Code: https://code.visualstudio.com/
- Create account Ngrok: https://ngrok.com/
2. Environment settings
- 2.1 Go to Kaggle notebook: Notebook Example
- Or upload
notebook_example.ipynbfrom this repository
- Or upload
-
2.2 Choose
Copy & Edit: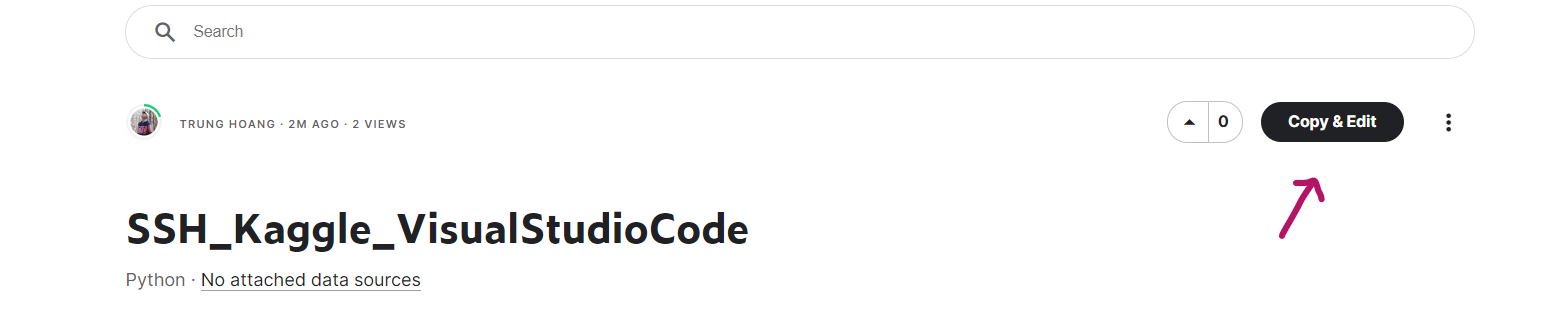
-
2.3 In the right-hand bar, choose 1 of these 2 GPUs. TPU is not supported:
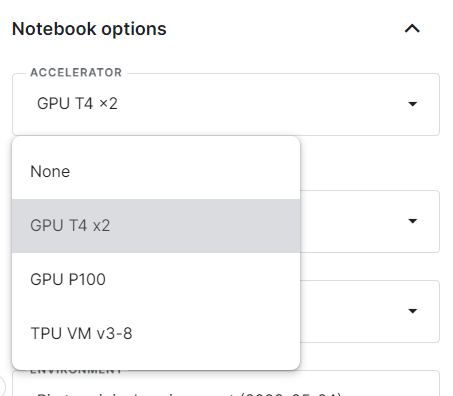
-
2.4 At
persistence, selectFiles onlyto save files every time you Stop Session: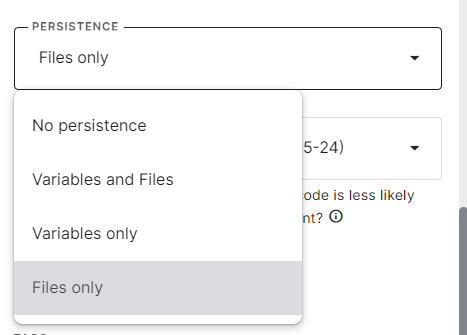
-
2.4 Go to Ngrok -> Your Authtoken -> press copy:
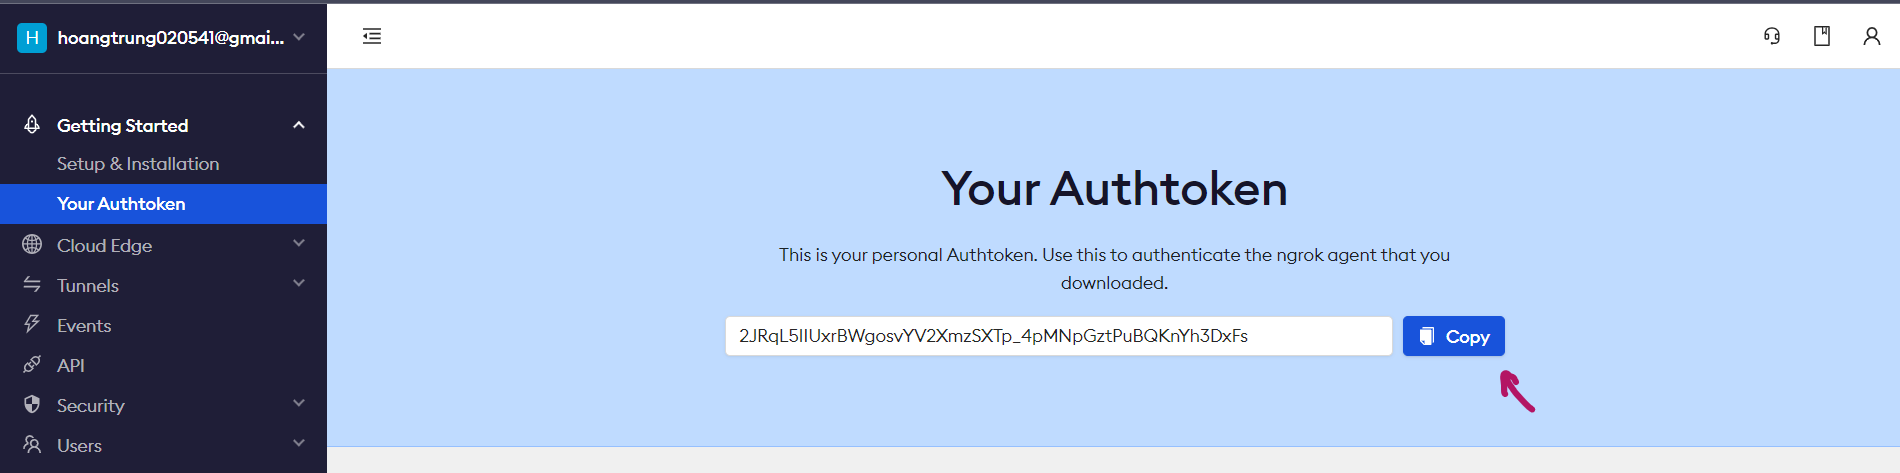
- 2.5 In cell 3 (the setup cell), set your SSH password and paste your Ngrok token:
ssh_password = "kaggle" # Change this to your desired password # Run bash scripts !bash install_ssh_server.sh $ssh_password !bash add_ngrok_token.sh YOUR_NGROK_TOKEN # Replace with your actual token - 2.6 In the last cell (cell 4 - runs
bash run_ssh_server.sh), notice theHostName: 0.tcp.ap.ngrok.ioandPort: 17520. Make a note to use for step 3.6.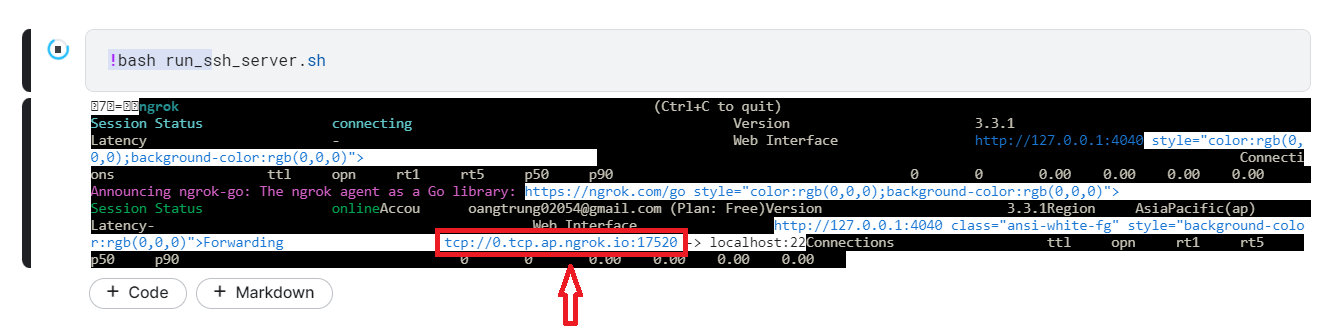
3. Install SSH configuration on Visual Studio Code
-
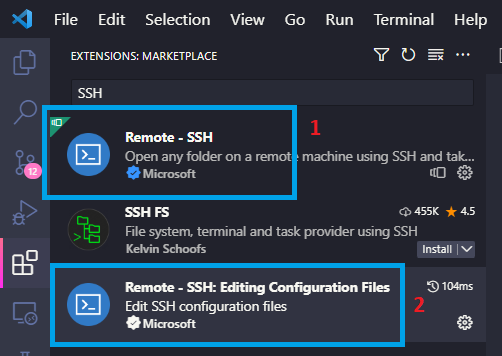
3.1 Press
Ctrl Shift X, search SSH and install the following 2 extentions:
-
3.2 Note: How to SSH in detail see here (https://code.visualstudio.com/docs/remote/ssh)
-
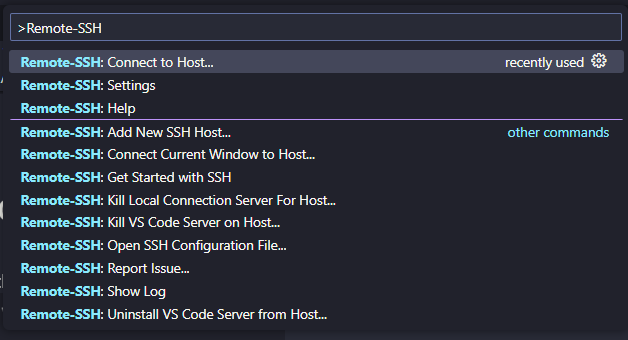
3.3 Press
Ctrl Shift P->Remote-SSH: Connect to Host…
-
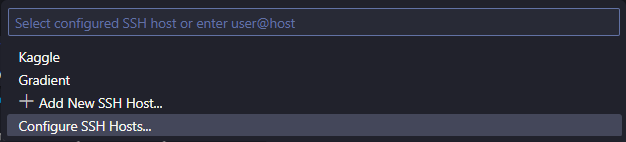
3.4 Press
Configure SSH Host…
-
3.5 Select
~/.ssh/config, usually the first file.

- 3.6 Add the following information to the config file:
Host Kaggle HostName 0.tcp.ap.ngrok.io Port 17520 User root- Host: SSH’s name, whatever you want (e.g., “Kaggle”)
- HostName: Server’s IP address from step 2.6
- Port: Port number from step 2.6
- User: root (keep as root)
-
3.7 Press
Ctrl SandCtrl Shift P->Remote-SSH: Connect to Host… -
3.8 Press
Kagglethat you namedHost: Kaggle
-
3.9 When prompted, enter the password you set in step 2.5 (default is
kaggle) -
3.10 Press
continue(Note: If a list appears to select the operating system, please selectlinux):
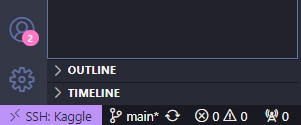
- 3.11 At the bottom left corner shows as shown in the picture that ssh was successful:
4. Using
-
4.1 Press
Ctrl K O-> Enter the path/kaggle-> Pressok.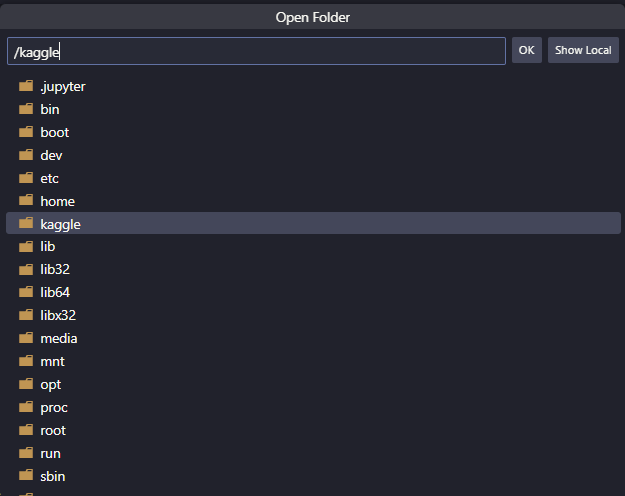
-
4.2 Open terminal press
Ctrl J-> enterconda init-> press kill as shown in the picture.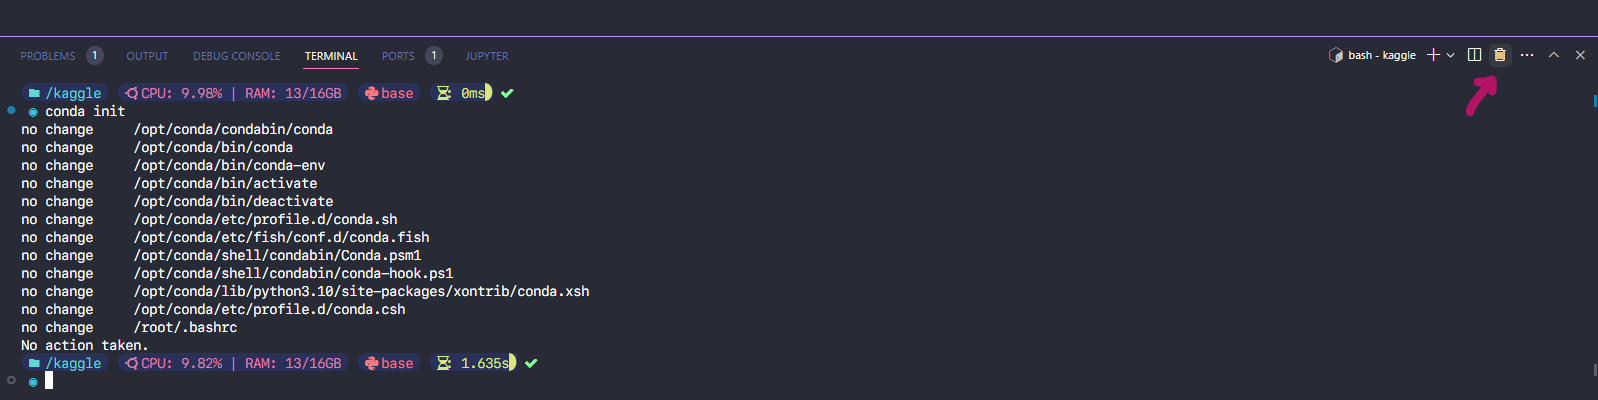
- 4.3 Activate cuda:
<!– - Run the following scripts in terminal to install cuda (
Ctrl Jto open terminal):bash cd /kaggle/working/remote-ssh-kaggle-vscode bash install_cuda.sh-
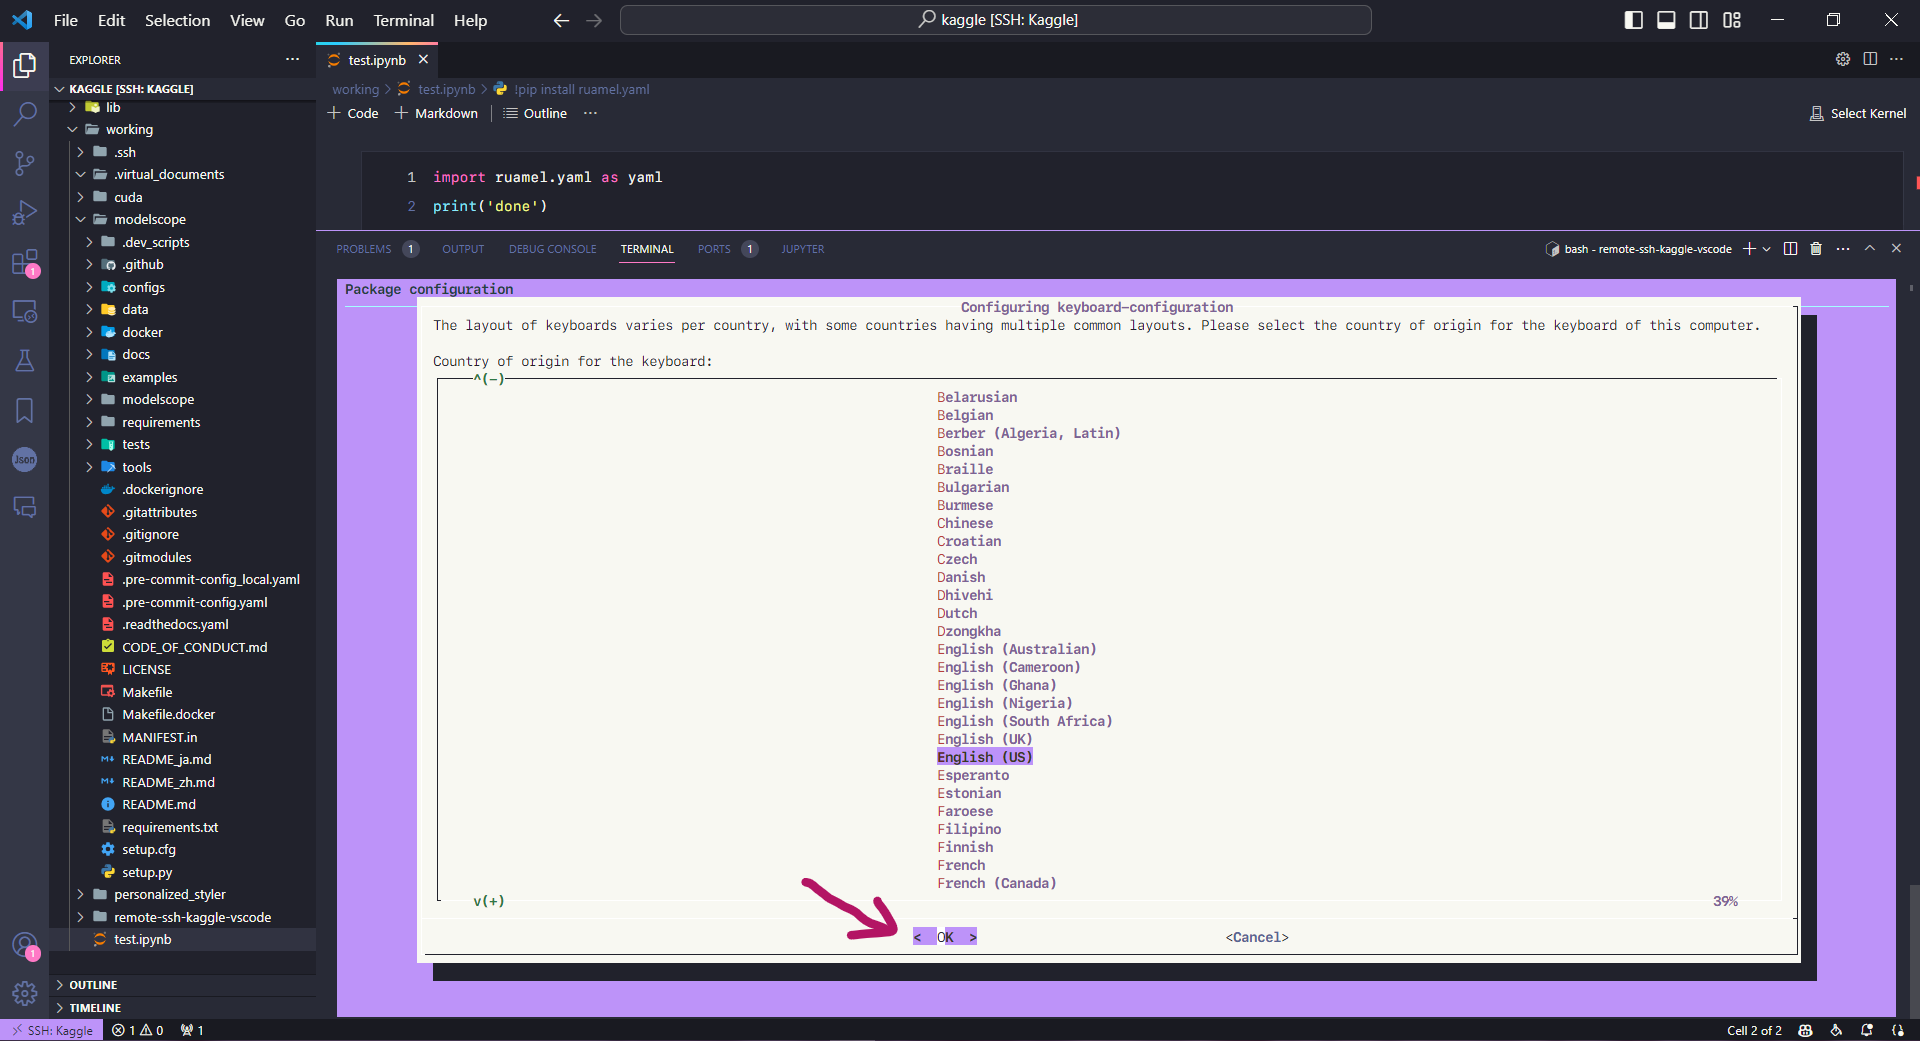
Select language and press OK as shown in the picture:
 –>
–> -
Run the following scripts in terminal to activate cuda (
Ctrl Jto open terminal):sudo apt install nvidia-utils-515 -y
-
-
4.4 Check GPU
nvidia-smi: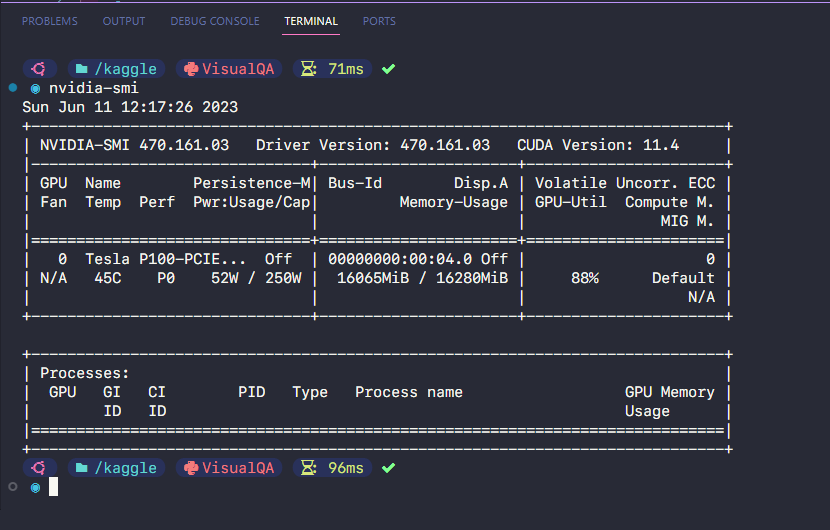
- 4.5 After each time stopping a session and running a new session notebook on Kaggle, you only need to perform the following operations in order to continue using:
- Run cell 4 to get new hostname and port
- Update your SSH config with new hostname/port (step 3.6)
- Connect via VS Code (steps 3.7 -> 3.8 -> 3.9)
- Continue working (steps 4.1 -> 4.2 -> 4.3 -> 4.4)
<p style="text-align:center"> Tips and Tricks </p>
Here are some tips and tricks to make the most out of your remote-SSH Kaggle setup:
- To maintain a continuous session, remember to close the notebook session and SSH back in before reaching the 30-hour GPU usage limit. By doing so, you can extend your GPU usage to a maximum of 42 hours per week.
- Use the terminal in Visual Studio Code for easier command-line interactions and workflows.
- Take advantage of the debugging capabilities in Visual Studio Code to streamline your Kaggle projects.
- Easily manage and work with .py files by organizing your code in a familiar file-based structure.
- On the right bar of the
Datasection you will see 2 sectionsInputandOutput:- With
Inputas the place to receive data from kaggle and you do not have the right to edit on visual studio code, the corresponding dir is/kaggle/input/...The maximum storage memory for your private data is ~107GB, and for public data is unlimited. Outputis where you will work, corresponding to the dir of/kaggle/working/...Maximum storage memory is ~20GB.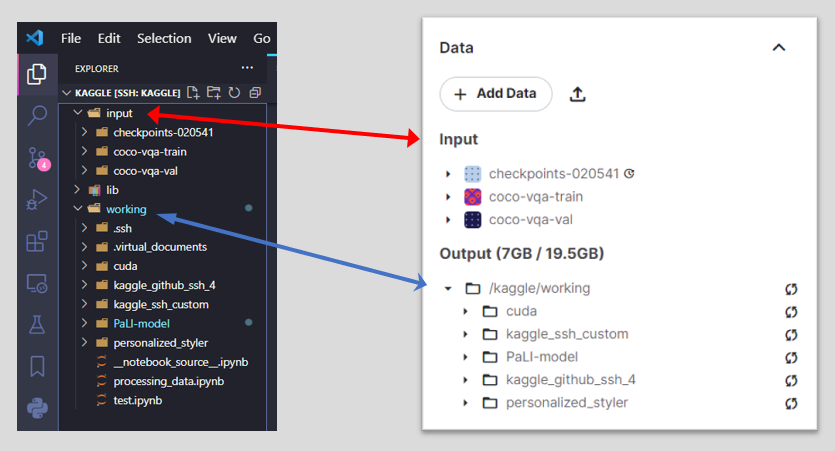
- With
Conclusion
With remote-SSH Kaggle using Visual Studio Code, you can unlock the full potential of Kaggle and enjoy a seamless development experience. Start leveraging the power of Kaggle’s utilities while benefiting.